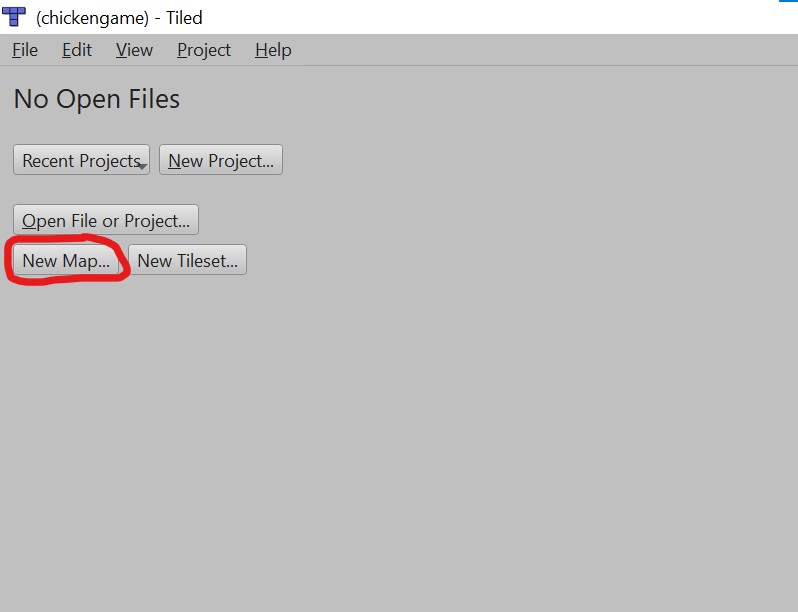
In order to create a map for your game the library has .tmx format support. In order to get .tmx files you use the associated tile editor "Tiled" which gets automatically downloaded when executing the VEGO libraries setup file (the installer is provided the installation itself must be finalized by the user). This section will walk you step by step through the creation of your first map/background using Tiled.
see also: the official Tiled documentation
Getting started
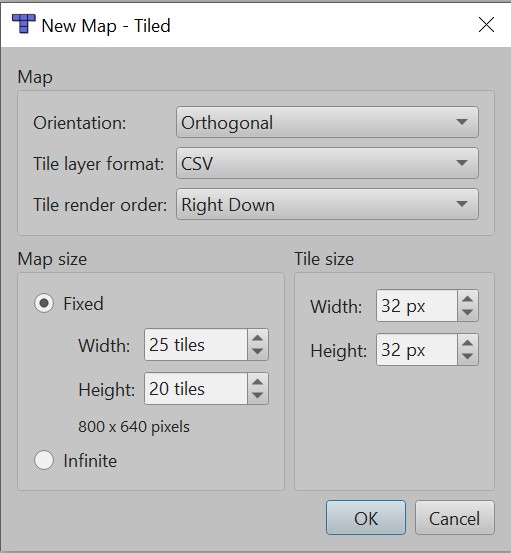
After opening Tiled, select "New Map", a custom size measured in tiles and as tile size select 32x32 as this is the size the library currently supports. Also choose the size of your canvas, it is recommended you choose the same size as the one you defined in the games config (default is 25w x 20h, measured in tiles, to get the pixel size just multiply by 32 as that is the tilesize the library uses)
Create a New Tileset
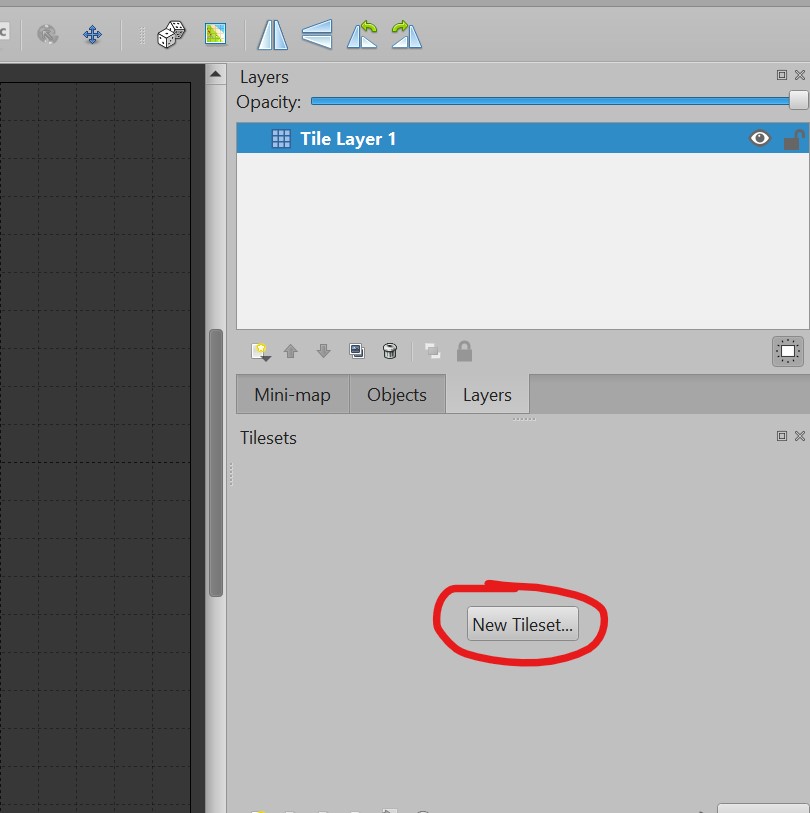
- In the editor, go to the lower-right corner and select "New Tileset".
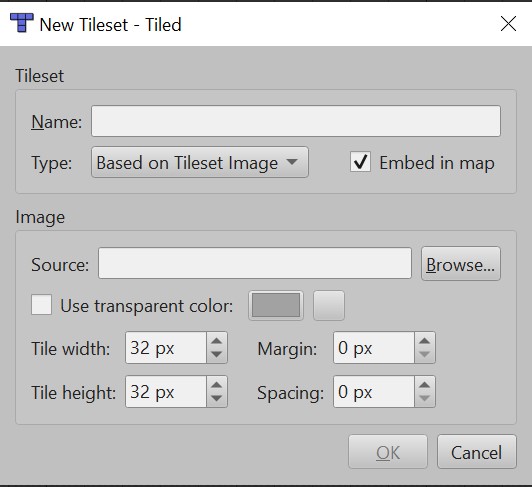
- Give your tileset a name.
- Make sure to select "Embed in map".
- Choose your tilesheet as the source.
- Leave the rest of the settings on default
Draw Your Environment
Once imported, you can select tiles from the tileset and use them to build your environment.
Understand Layers in Tiled
Tiled allows you to use multiple layers for organizing your map.
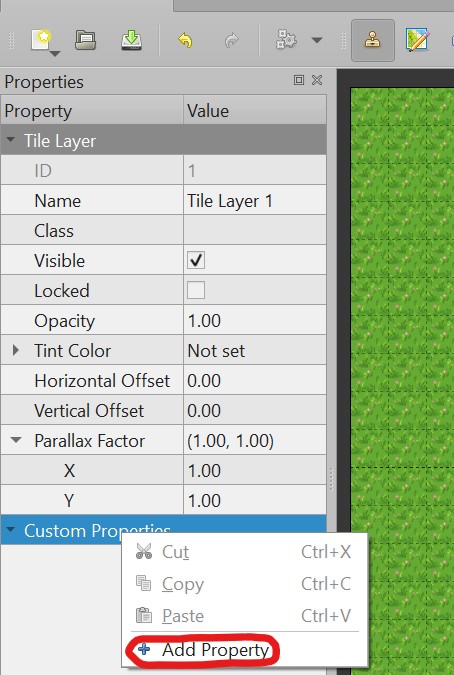
You need to give your Layers seperate z-Indices to decide their rendering order, the lower the number the earlier it gets rendered. In order to do this:
- Select a layer.
- Right-click "Custom Properties" and go to "Add Property".
- Add a new int property named "zIndex" and give it a number starting with 0 to decide when to render it (the lower the number the more the layer is in the background i.e. tiles on layer 0 will be covered by tiles on layer 1 if they occupy the same space).
Important: Tiles that should have collision must be placed on a separate layer as custom properties are per layer not per tile.
Set Up Collision
To add collision to a layer:
- Select the layer you want to have collision.
- Right-click and go to "Custom Properties".
- Add a new boolean property named "collision" and tick the checkbox.
Any tile placed on this layer will now automatically have collision—meaning moving entities cannot pass through them.
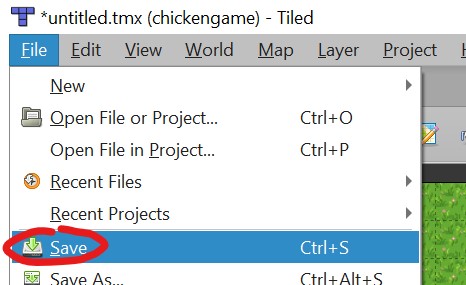
Saving your work
After completeing your map, save it in the asset folder of the library (or any place really the asset folder just exists as a recommendation to easily find all of your maps and textures)
Loading your work into the game
The map gets loaded into the game in GameImplementation.cpp, simply add the path of the map .tmx file to the Map constructor